For those considering Windows 10: Take these steps first!
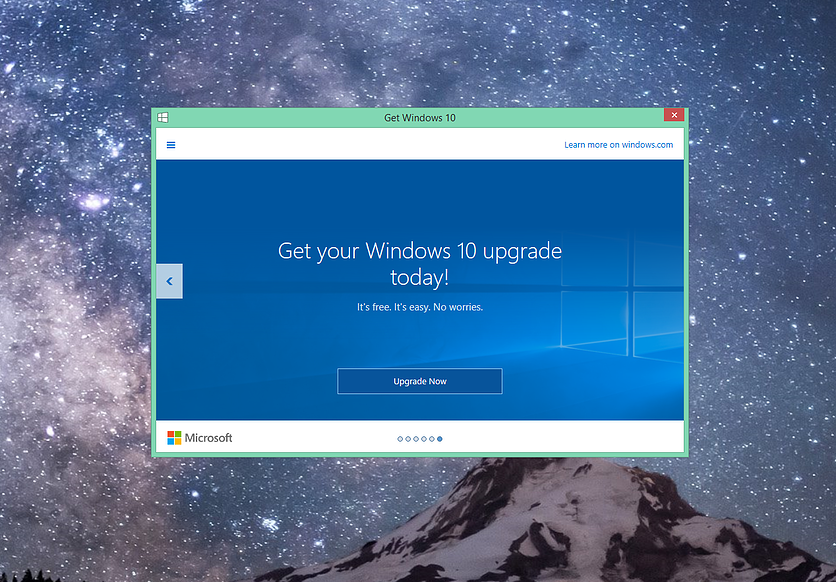
It’s been almost a year since the launch of Windows 10, and with it have been many people taking advantage of the free upgrade. However, we still get (even this much time later) many people who willingly take the upgrade, only to find that their computer was not properly prepared and has thusly been adversely affected. Contrary to popular belief, the Windows 10 upgrade does require some preparation to ensure the best chances of a clean, working installation.
With there being so many different manufacturers and models using so many different designs and configurations, it can be difficult to guarantee proper compatibility when you’re going from one version of Windows to another. A good deal of people had a similar experience during the days of Windows 8, when many users were trying to install Windows 7 on brand new computers that were built for use with Windows 8. Unfortunately, in many cases, some parts of the computers simply would not work with the older version, and even in the best cases there might be undesirable side-effects.
Thankfully, given the wide-spread availability of the Windows 10 upgrade, many manufacturers and brands have started listing the compatibility status on their websites for different models, giving their customers an idea on what will work, what will not, and what might need some finesse to be made to work properly.
That brings us to the first step of a prospective update – check with the manufacturer to see if your model is compatible. Below are some examples of what you might expect to find on a manufacturer’s support pages regarding Windows 10.
Dell’s Windows 10 compatibility is listed under the support page for the specific model.

HP has a support page for looking up Windows 10 compatibility as well.
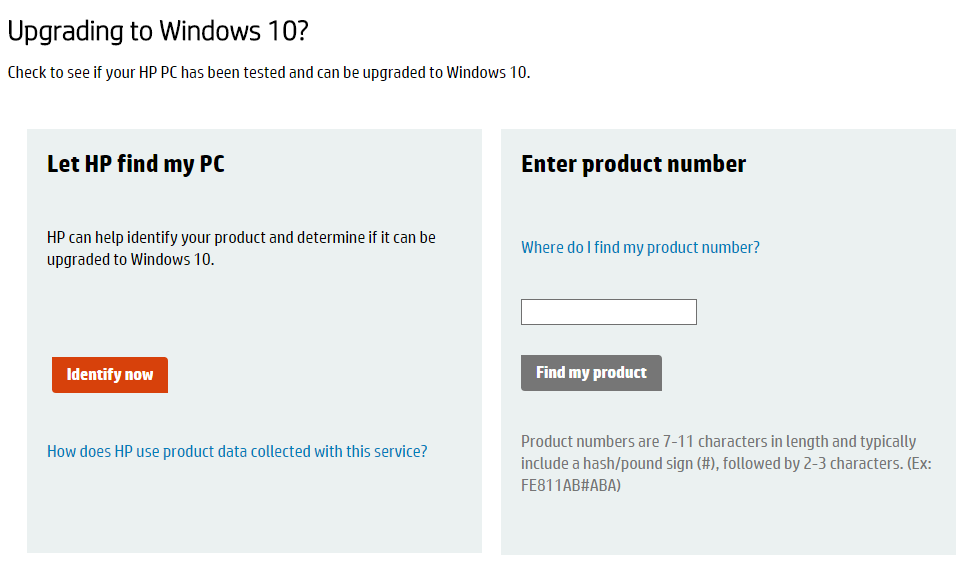
In our experience, most Windows 8 users should expect full compatibility and a relatively painless upgrade. However, Windows 7 users have to be more careful, as often-times most Windows 7 computers are now more than 3 years old, which is long enough where some manufacturers may stop testing or providing new updates for them. Beyond this, it’s important to consider the fact that Windows 7 is now 7 years old and two versions behind Windows 10. As a result, it has to make a larger “leap” in software than Windows 8.
The second step that many people gloss over is to use the built-in compatibility checker on the “Get Windows 10” app itself. While limited in its capacity to fully check a system over, it can easily provide a good reference of what applications or hardware (if any) may be incompatible if the user attempts to upgrade. Simply opening the “Get Windows 10” app,
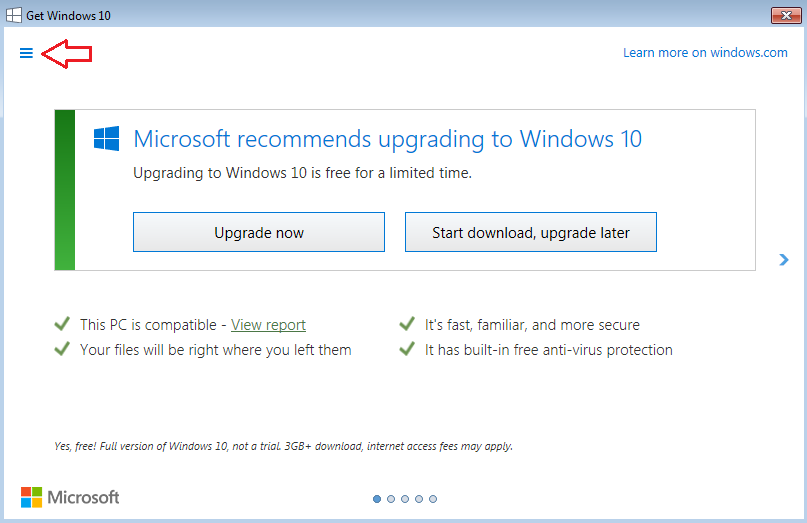
selecting the options icon in the top-left of the window,
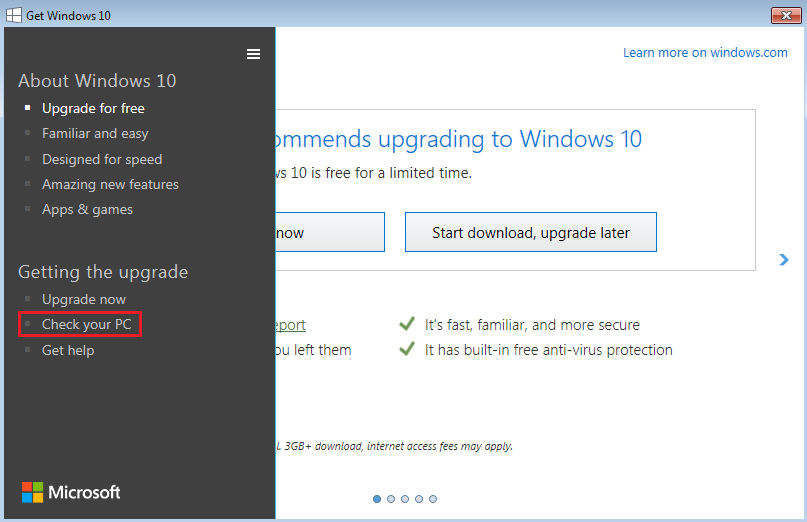
and then clicking “Check your PC” under the “Getting the upgrade” section
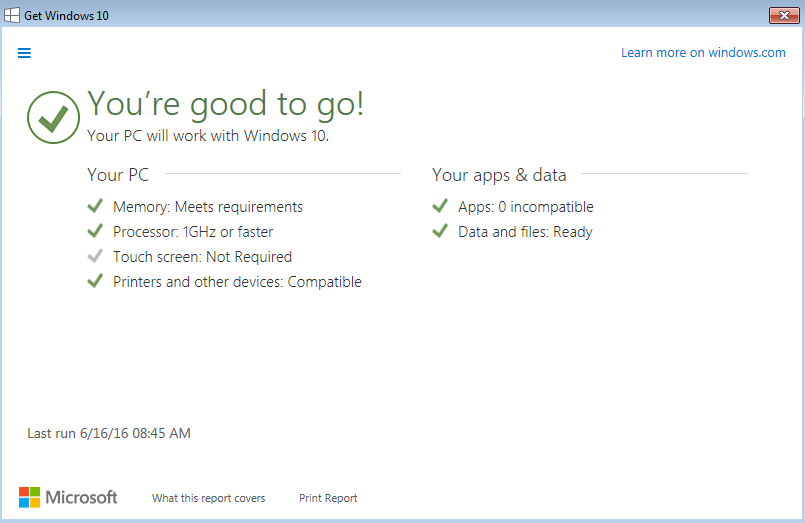
will present the compatibility checker.
Keep in mind, however, that there’s a reason this is step two – the compatibility checker is not a sure-bet and can very often miss items that could cause problems after the upgrade.
The third step, which Microsoft decided would be best left to the fine print section that no one actually reads, is to disable or uninstall your antivirus before beginning the upgrade. We typically recommend uninstalling the antivirus altogether to be on the safe side. Unfortunately, this step is probably one of the most harmful steps to skip, as it usually won’t outright prevent an upgrade from happening, but it can very easily cause major hiccups or problems after the upgrade is complete. Problems we’ve observed as a result of this crucial step being overlooked have ranged from an unresponsive Start Menu, to a desktop or home screen that constantly flashes black, to even a computer that simply can’t log in to any of its user’s profiles.
There have been many more issues than these, but the aforementioned symptoms are some of the more common ones. In order to disable your antivirus before an upgrade, usually right-clicking it’s icon in the lower right-hand corner of the screen will yield the option to “turn off protection” or something of that verbage. However, to uninstall it altogether (given you have the product key or account information required to reinstall it), simply navigating to or searching out “Control Panel” and then “Programs and Features” or “Add or Remove Programs” will allow you to uninstall it.
Then, once the upgrade has gone through, simply use the same method as before to re-enable your protection if you simply disabled it, or reinstall it from the disk or website it came from, so long as you have the account information or product key available.
Whether you’re upgrading from Windows 7 or Windows 8, always bear in mind that not every upgrade will go smoothly. This type of procedure is probably the most significant software change one can make to a computer, so there is always a good chance something might not go as expected. However, with the right preparation, you can minimize your risks of encountering problems after the switch. Of course, if any problems are encountered, you can always seek help from your local technician.
Related posts: Windows 10: To Upgrade or Not to Upgrade, Windows 10: What’s Changed
